> For the complete documentation index, see [llms.txt](https://qubitvpn.gitbook.io/qubitvpn-docs/llms.txt). Markdown versions of documentation pages are available by appending `.md` to page URLs; this page is available as [Markdown](https://qubitvpn.gitbook.io/qubitvpn-docs/how-to-use/download-netbird-qubitvpn-client.md).
# Download NetBird (QubitVPN Client)
### Desktops/Laptops
Windows
{% stepper %}
{% step %}
#### Download and run Windows Installer
{% hint style="info" %}
Install the version appropriate for your archeticture. Most modern computers run on *64-Bit.*
{% endhint %}
64-Bit
ARM64
64-Bit (MSI)
ARM64 (MSI)
{% endstep %}
{% step %}
#### Enter Management URL to connect to the QubitVPN Network
**Method 1:**
1. During setup, choose "Self Hosted" and then enter the following Management URL:
```
https://vpn.qubitvpn.com
```
***
**Method 2:**
1. Click the 3 stacked dots (⋮) on the top right.
2. Open Settings
3. In the General tab under "Connection", choose Self-hosted and enter the following Management Server:
```
https://vpn.qubitvpn.com
```
{% endstep %}
{% step %}
#### Click on "Connect" from the NetBird icon in your system tray
{% endstep %}
{% step %}
#### Sign up/Log In using your Splicate/QubitVPN account
{% endstep %}
{% endstepper %}
macOS
{% stepper %}
{% step %}
#### Download and run macOS Installer
macOS Universal Installer
{% endstep %}
{% step %}
#### Click on "Settings" then "Advanced Settings" from the NetBird icon in your system tray and enter the following "Management URL"
```
https://vpn.qubitvpn.com
```
{% endstep %}
{% step %}
#### Click on "Connect" from the NetBird icon in your system tray
{% endstep %}
{% step %}
#### Sign up/Log In using your Splicate/QubitVPN account
{% endstep %}
{% endstepper %}
***
### Mobile Phones
iOS
{% stepper %}
{% step %}
#### Download and install the application on the App Store:
[](https://apps.apple.com/app/netbird-p2p-vpn/id6469329339)
{% endstep %}
{% step %}
#### Click on "Change Server" and enter the following "Server"
```
https://vpn.qubitvpn.com
```
{% endstep %}
{% step %}
#### Click on the "Connect" button in the middle of the screen
{% endstep %}
{% step %}
#### Sign up/Log In using your Splicate/QubitVPN account
{% endstep %}
{% endstepper %}
Android
{% stepper %}
{% step %}
#### Download and install the application from the Google Play Store
[](https://play.google.com/store/apps/details?id=io.netbird.client)
{% endstep %}
{% step %}
#### Click on "Change Server" and enter the following "Server"
```
https://vpn.qubitvpn.com
```
{% endstep %}
{% step %}
#### Click on the "Connect" button in the middle of the screen
{% endstep %}
{% step %}
#### Sign up/Log In using your Splicate/QubitVPN account
{% endstep %}
{% endstepper %}
***
### Linux
Linux
#### **Install with Command-line**
```
curl -fsSL https://pkgs.netbird.io/install.sh | sh
```
#### Run NetBird and log in the browser
```
netbird up --management-url https://vpn.qubitvpn.com
```
***
### Smart TV
tvOS (Apple)
The tvOS app supports all Apple TV devices running tvOS 17.0 or later. It's available to download in the Apple TV app store.
{% hint style="info" %}
tvOS support is currently in beta.
{% endhint %}
## Configure NetBird on tvOS
{% stepper %}
{% step %}
### First Launch

Upon first launch, NetBird will request permission to create a new VPN configuration. Select 'Allow' to continue.
{% endstep %}
{% step %}
### Management Server Configuration
Navigate to **'Settings > Change Server'**, and the app will warn you that changing management server settings will erase your current config and disconnect if a connection is currently active:

After confirming, you'll be presented with a dialog to enter the management server URL. Please enter `https://vpn.qubitvpn.com:443`.
Select 'Change' to apply your new management server config. NetBird will run a brief verification step on the details you've entered, after which you can move on to connecting.
{% endstep %}
{% step %}
### Connecting & Authenticating
On the main 'Connection' screen, select the 'Connect' button to initiate a connection to the QubitVPN network.
You will be presented a QR code and device ID:

Scan the QR code with a mobile device and you'll be able to sign in there. If asked to confirm your device code, confirm that the code underneath the QR code matches the one presented by the Splicate Authentication. Once you've completed the SSO flow, after a few seconds the authentication dialog in the NetBird app will automatically dismiss itself. Select the 'Connect' button once more, and your device should now be connected!

{% endstep %}
{% endstepper %}
Google TV / Android TV
{% stepper %}
{% step %}
### Where to Download
NetBird has an official Android application that you can download at the Google Play Store:
[](https://play.google.com/store/apps/details?id=io.netbird.client)
APK releases are also available to install directly on your Android device via the [NetBird Android GitHub repository](https://github.com/netbirdio/android-client/releases).
{% endstep %}
{% step %}
### Configure Netbird on Android TV
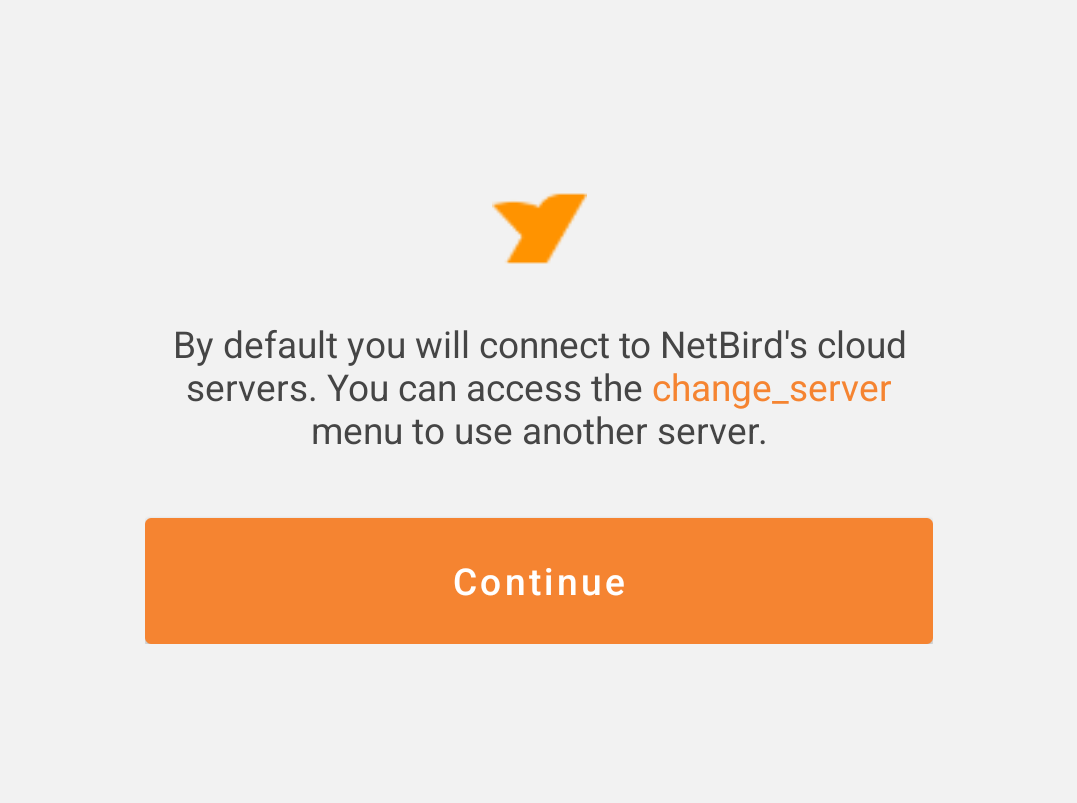
Upon first launch, NetBird will inform you that it's using the default management server.
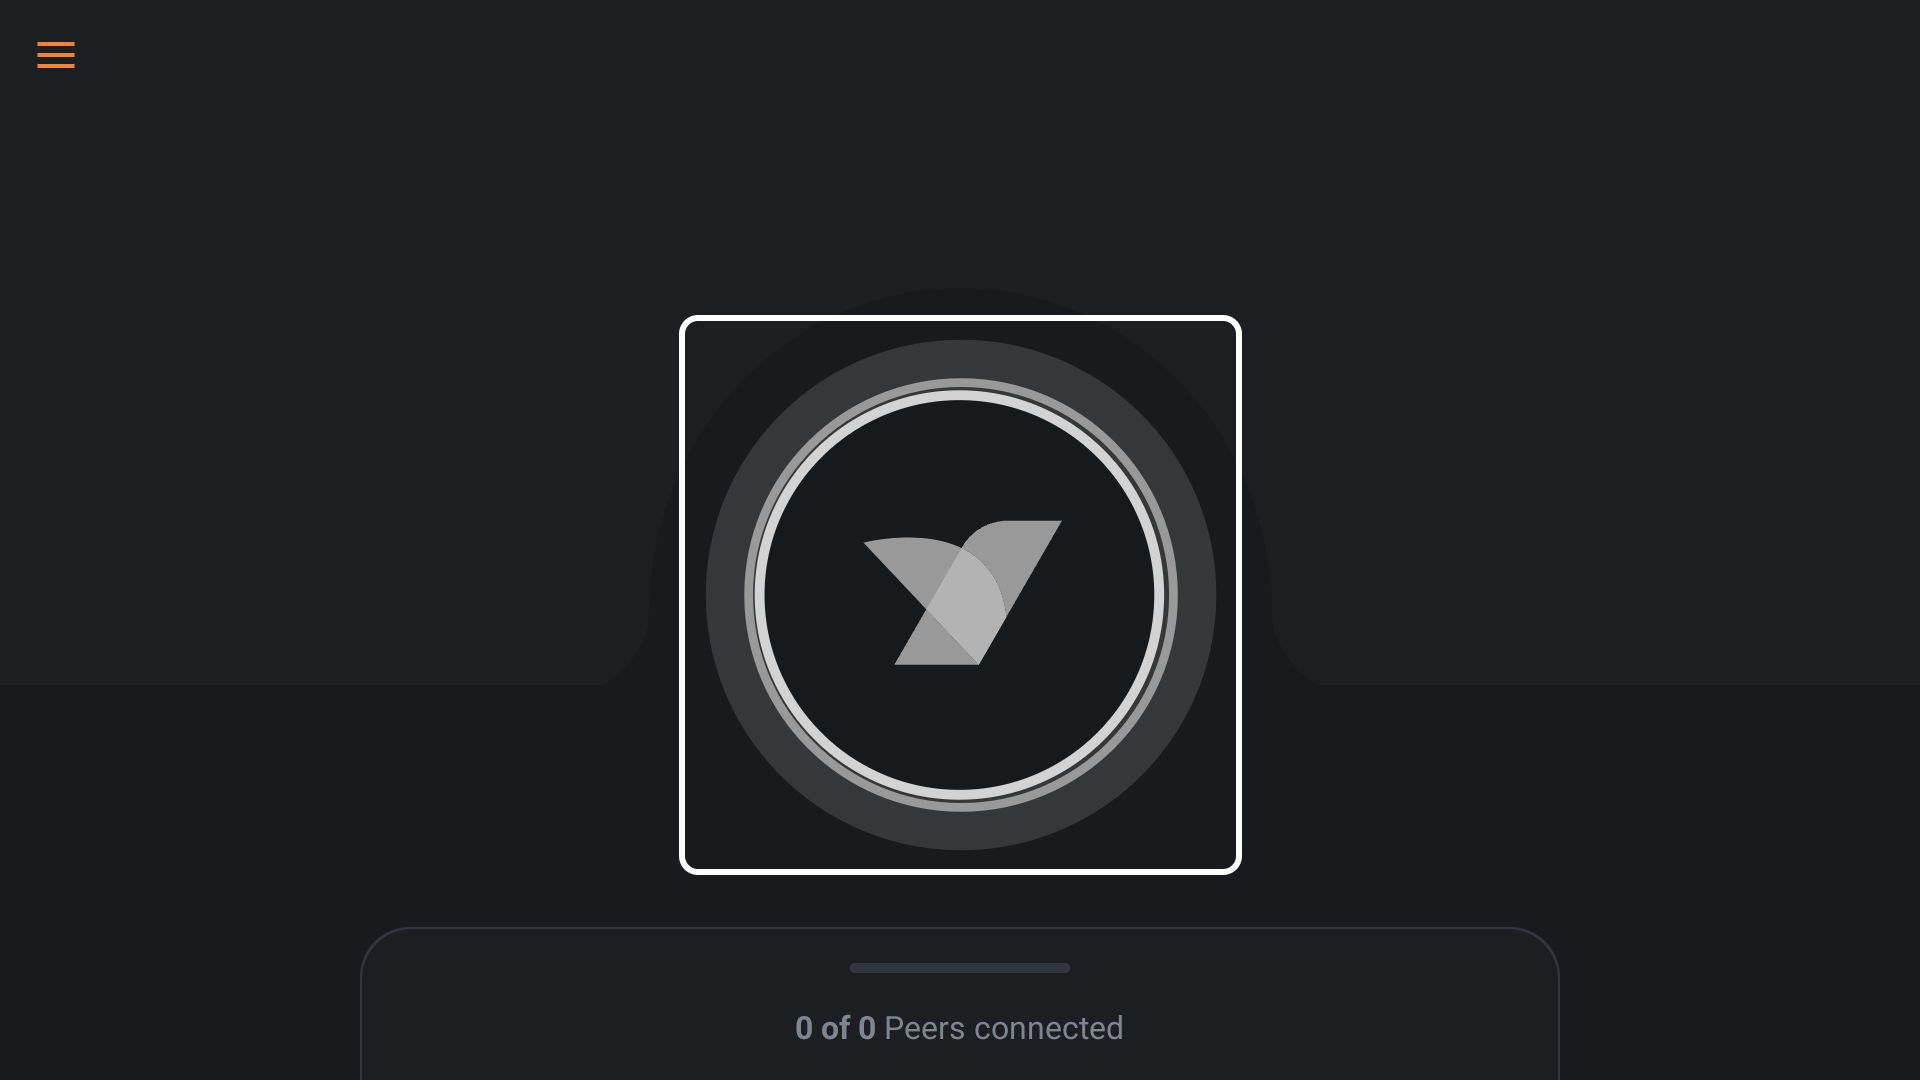
Select 'Continue' to acknowledge and you'll be greeted with the app's main screen.
{% endstep %}
{% step %}
### Management Server Configuration
Select the hamburger menu on the top left of the main screen (or hold the left directional button) and navigate to the 'Change Server' menu.

Changing servers erases the device's current NetBird config, so you'll need to confirm the action before proceeding:

Enter QubitVPN's management server endpoint: `https://vpn.qubitvpn.com:443`.
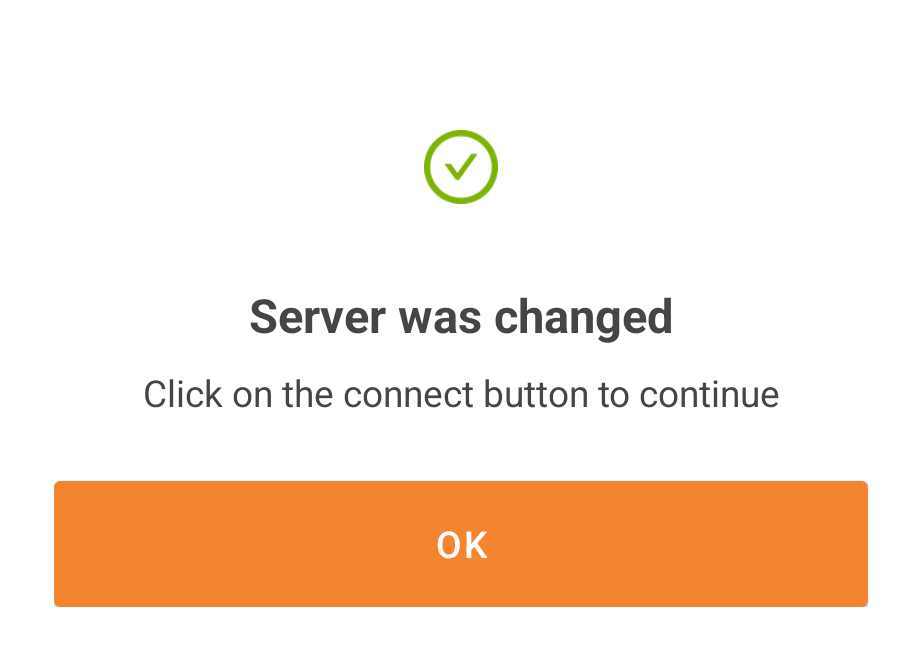
Select 'change' to apply your new management server config, and if successful you'll see the following:
You're now ready to connect to the network!
{% endstep %}
{% step %}
### Connecting to the Network
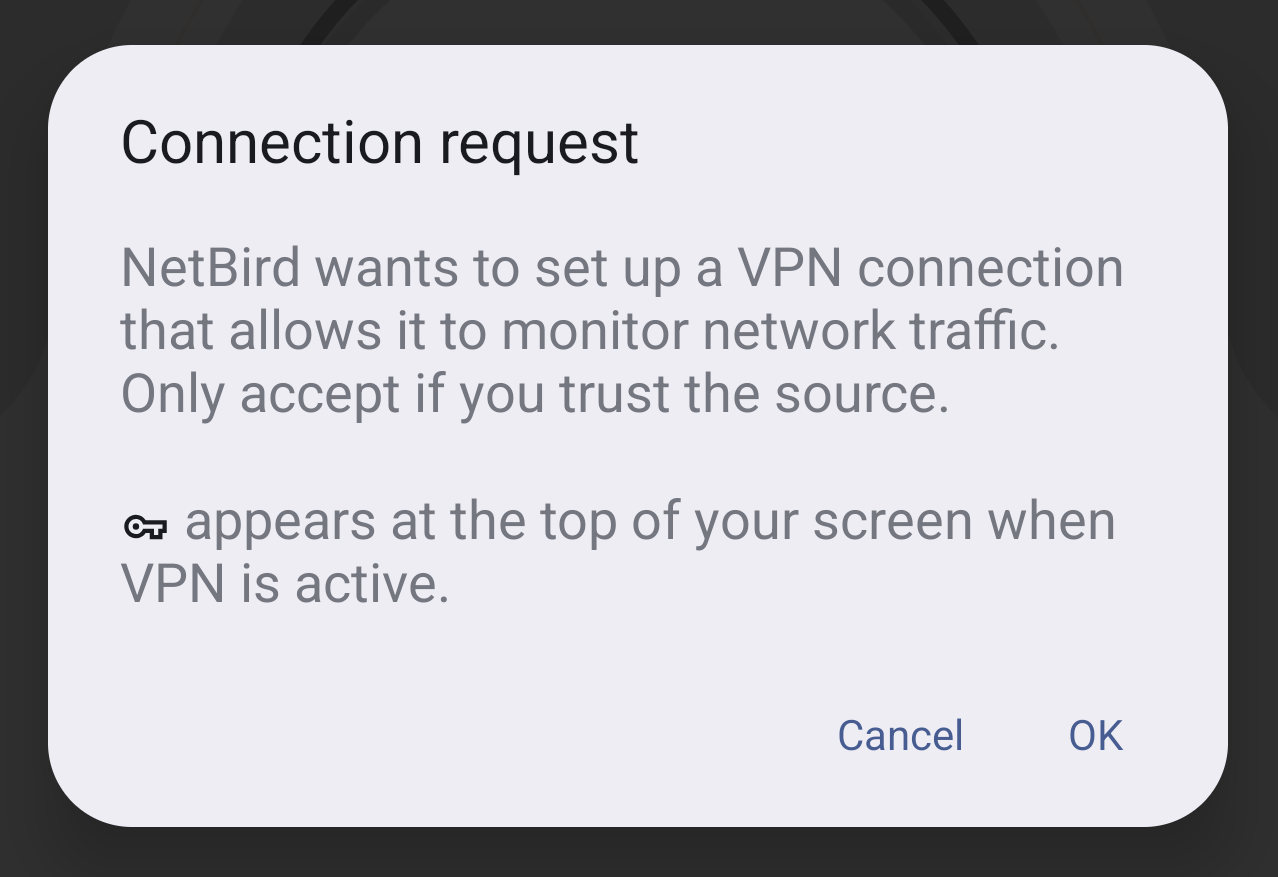
Select the NetBird logo button to connect. The app will request permission to create a VPN connection:
Select 'OK'. You will then need to authenticate. NetBird will open a browser window where you'll be instructed to sign in.
After logging in, NetBird will confirm your authentication. Once you close the browser window, your device should be connected!
{% endstep %}
{% step %}
### Authenticating
Since Android TV doesn't ship with a built-in browser, and entering credentials with a remote may be less than ideal, the TV client uses a slightly different authentication flow to the mobile app. After you grant the app permission to create a VPN connection, you'll be presented a QR code and device ID:

Scan the QR code with your phone and you'll be able to sign in there. If asked to confirm your device code, confirm that the code underneath the QR code matches the one presented after Login. Once you've completed the SSO flow, the QR code dialog in the NetBird app will automatically dismiss itself, and your device should now be connected!
{% endstep %}
{% endstepper %}
#### After installing, please check out the "How to Use" documentation:
{% content-ref url="/pages/p4nvNYxyIFHpS6ddh6v5" %}
[How to use](/qubitvpn-docs/how-to-use/how-to-use.md)
{% endcontent-ref %}